
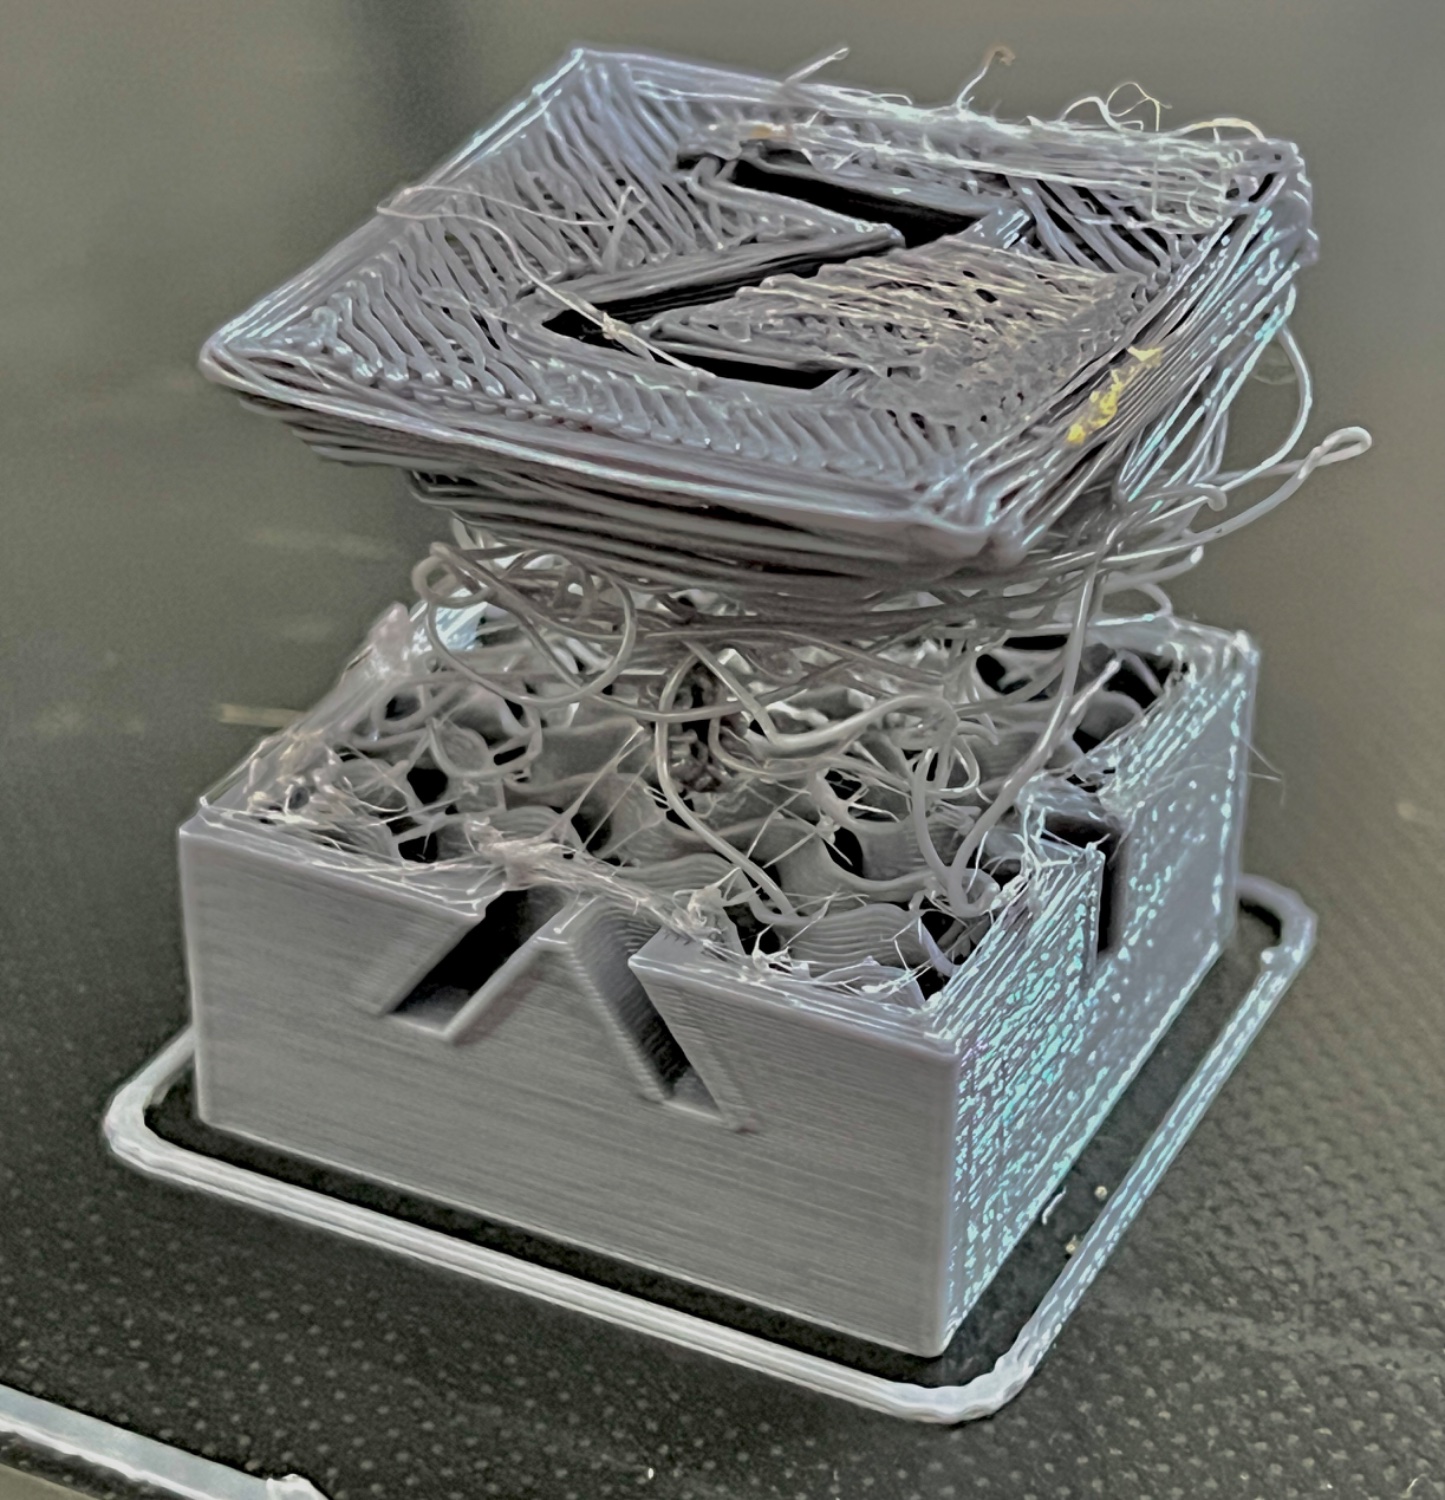
Turned on retraction speed to 11 and i guess it wore down the filament at one part but then managed to push it after some 10 minutes of spaghetti 👌
Turned on retraction speed to 11 and i guess it wore down the filament at one part but then managed to push it after some 10 minutes of spaghetti 👌
Anyone aware if that be re-melted or recycled back into filament, or is it pretty much done for?
If I had a 3D printer this would be nightmare fuel after waiting X hours for the print to complete lol
In theory, you can remelt. Unfortunately, the practicalities mean it’s not viable. Each remelt cycle degrades the plastic itself, so you can only put 20% or so ‘old’ plastic into the mix. Combined with the game of plasticisers (to remove brittleness) and reliable forming, even commercial systems struggle, let alone home ones.
If environmental concerns are the issue. It’s best to print in uncoloured PLA filament. PLA is corn starch based, and decomposes in a bio reactor environment (it rots quickly in an industrial composter).
As for speed. They are getting impressively fast. A calibration cube takes around 20 minutes, though less than 5 minutes is possible. My machine is effectively fire and forget. They mess around while you are tuning them in, but once you have a good calibration, they now tend to hold it well. You’ll sit there watching it in fascination for the first few months, but that wears off.
deleted by creator
Get an automatic bed leveler.
My printer just sits there, covered. When I want something, I uncover it, clean the printing surface with some alcohol, and tell it to print.
By the way, resin printers have a completely different set of issues. But yeah, they don’t have those ones.
deleted by creator
I have one of those servo sensors that use a microswitch at the end.
The printer has a sturdy frame build from extruded aluminum. That probably makes a lot of difference. I can take the printer, move it into some other surface, turn it on and print, without leveling issues. Before it I had a wooden one without autoleveling. That one needed leveling before each print.
resin printers have the slight issue of being a chemical hazard and requiring PPE.
With resin when a print fails, you just get a half print stuck to the bottom of the resin tank, no spaghetti. The most common cause of failure is the part falling of the lifting platform, typical due to poor supports, but rarelybecause the platform is crooked.
Leveling is pretty easy on most printers, just loosen the bed, remove the resin tank, placing some thin cardboard in it’s place, lower the platform until it touches the cardboard, and lock it in place.
Getting an auto leveler was a game changer for me. I still manually level the bed and check the Z offset every two months or so along with other maintenence, but I’ve gone on week long printing sprees without touching the bed springs once.
deleted by creator
A few tips that made my prints much better:
I used to have a lot of problems with parts lifting up or my prints being unclean but since I did this my prints look great and stick to the bed.
deleted by creator
You get used to that being a possibility with every print. That’s why you should do everything in your power to have your printer always in shape and operational, although sometimes it will happen no matter what!
Unfortuneatly, this is just waste, straight to the bin.