There are a few in-progress pics on Geekhack, but here is the final wiring. The RP2040-Zero has 20 castellated GPIO pins, and I ended up with a weird looking but doable 12x7 matrix. Next time I crack this one open, I think I will solder in a second LED to the last open pin and tie it to Capslock. I do find I miss that one a bit.
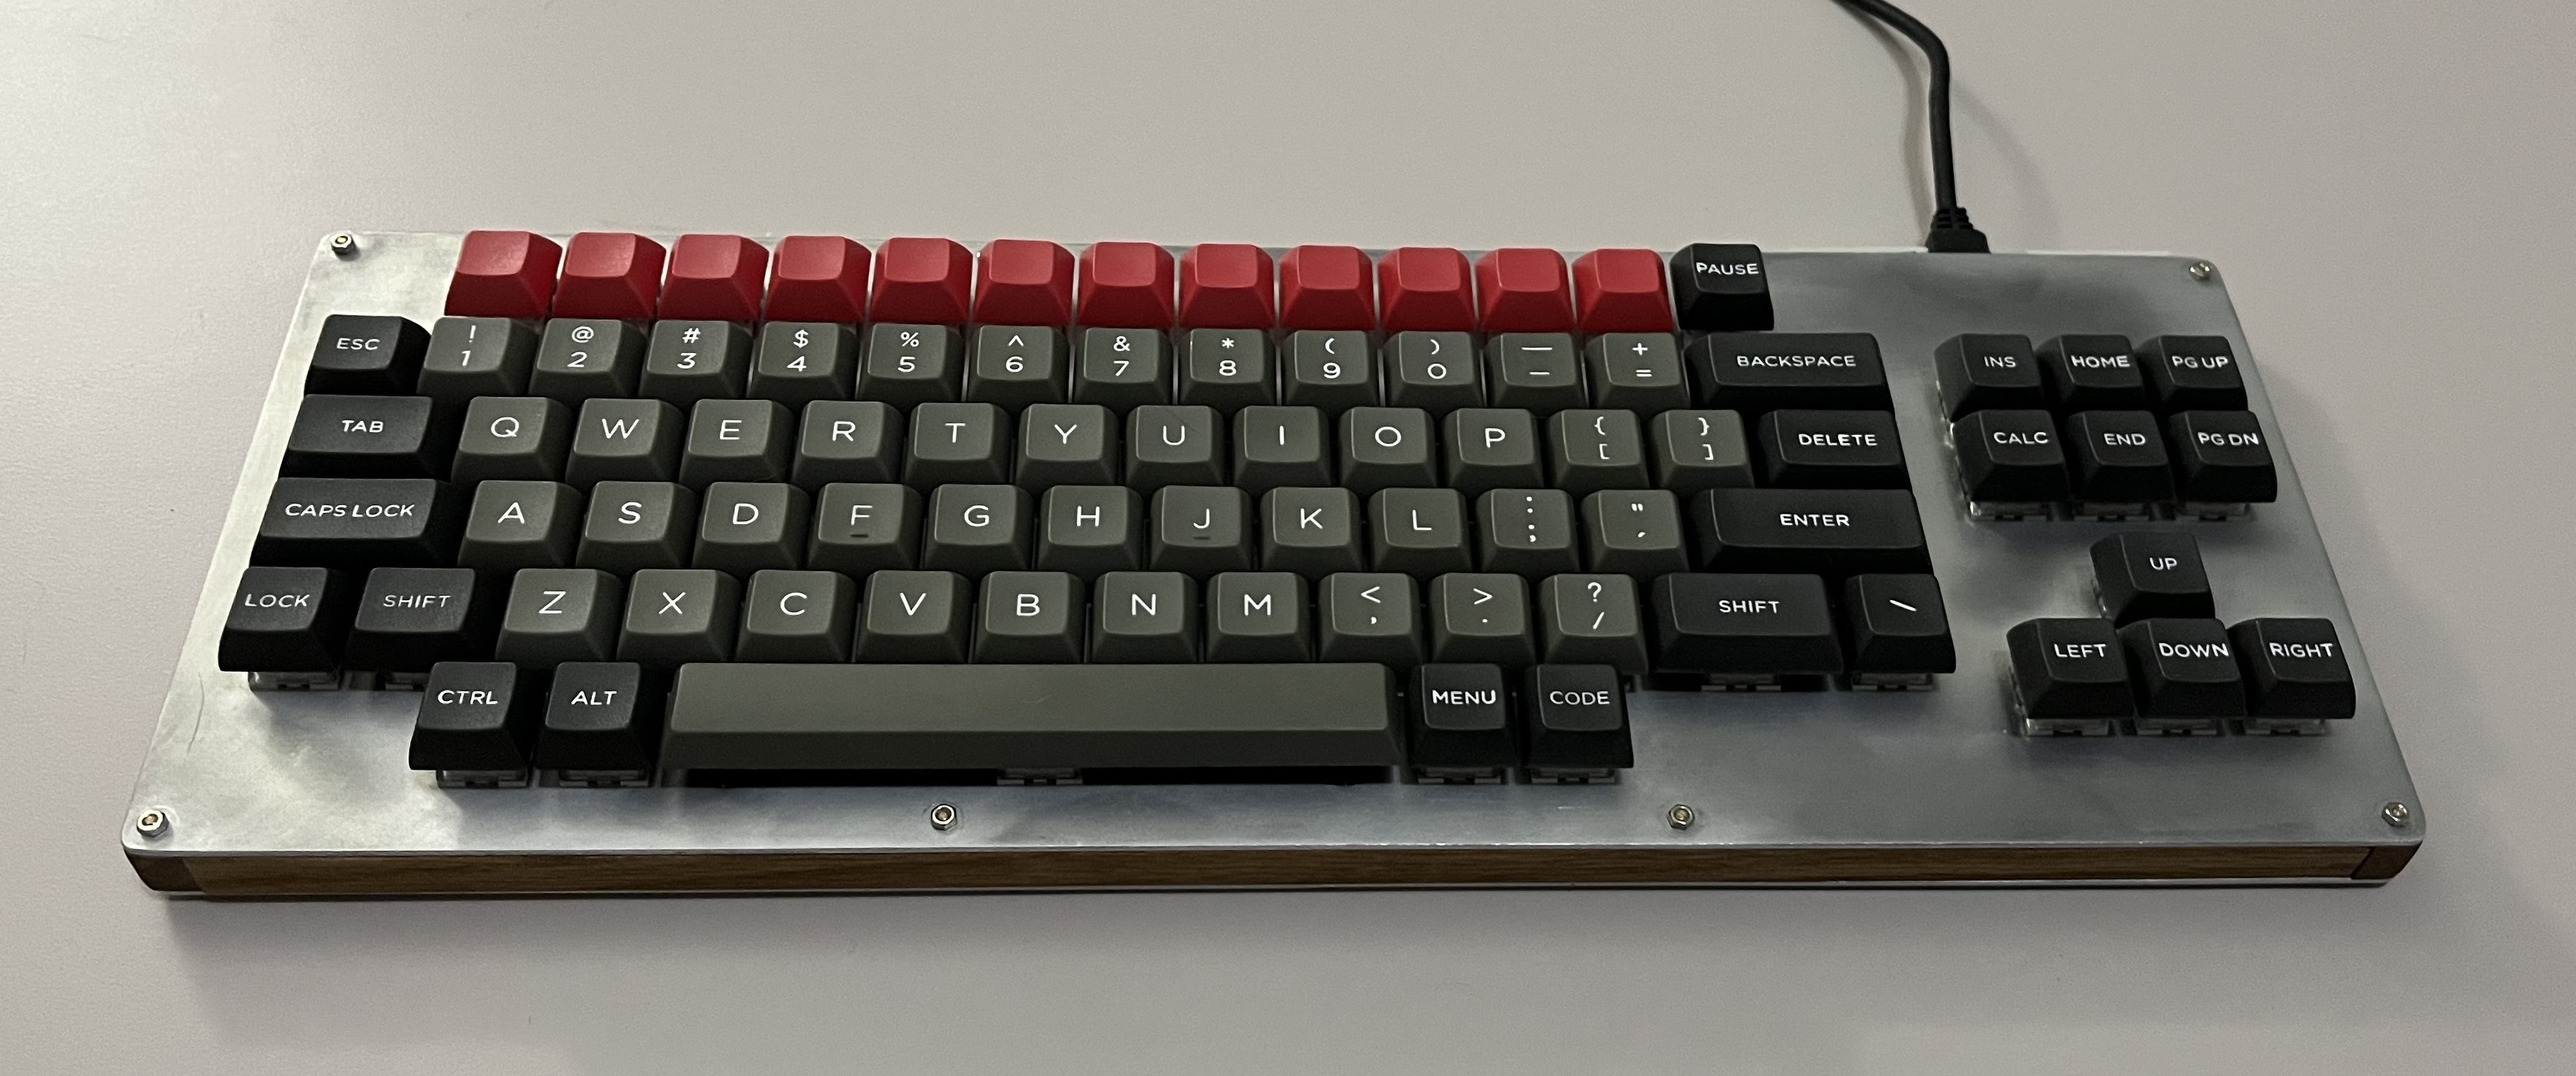
The plates were from Xometry. I got 3 switch plates and 3 bottom plates made of 1/16" (1.6mm) 5052 aluminum. The only finish option I chose was deburring. Total was US $67, and with the options I chose (and more to the point, the options I declined), I think this is probably about as cheap as it gets; the setup is a huge part of the cost, so I think 1 of each plate was going to be like $44. This first build, I just went right to town putting switches in and starting with the wiring. I justified my impatience by telling myself I want to see how it ages, but mostly I wanted to dive in. For the other two, I think I’ll sand and put a clearcoat on before beginning the wiring, and I will refine the case sides one way or another, maybe lasercut plywood, maybe 3D printed, or maybe just spending more time on the woodworking.


There are a few in-progress pics on Geekhack, but here is the final wiring. The RP2040-Zero has 20 castellated GPIO pins, and I ended up with a weird looking but doable 12x7 matrix. Next time I crack this one open, I think I will solder in a second LED to the last open pin and tie it to Capslock. I do find I miss that one a bit.
The plates were from Xometry. I got 3 switch plates and 3 bottom plates made of 1/16" (1.6mm) 5052 aluminum. The only finish option I chose was deburring. Total was US $67, and with the options I chose (and more to the point, the options I declined), I think this is probably about as cheap as it gets; the setup is a huge part of the cost, so I think 1 of each plate was going to be like $44. This first build, I just went right to town putting switches in and starting with the wiring. I justified my impatience by telling myself I want to see how it ages, but mostly I wanted to dive in. For the other two, I think I’ll sand and put a clearcoat on before beginning the wiring, and I will refine the case sides one way or another, maybe lasercut plywood, maybe 3D printed, or maybe just spending more time on the woodworking.
Awesome. Thanks.