
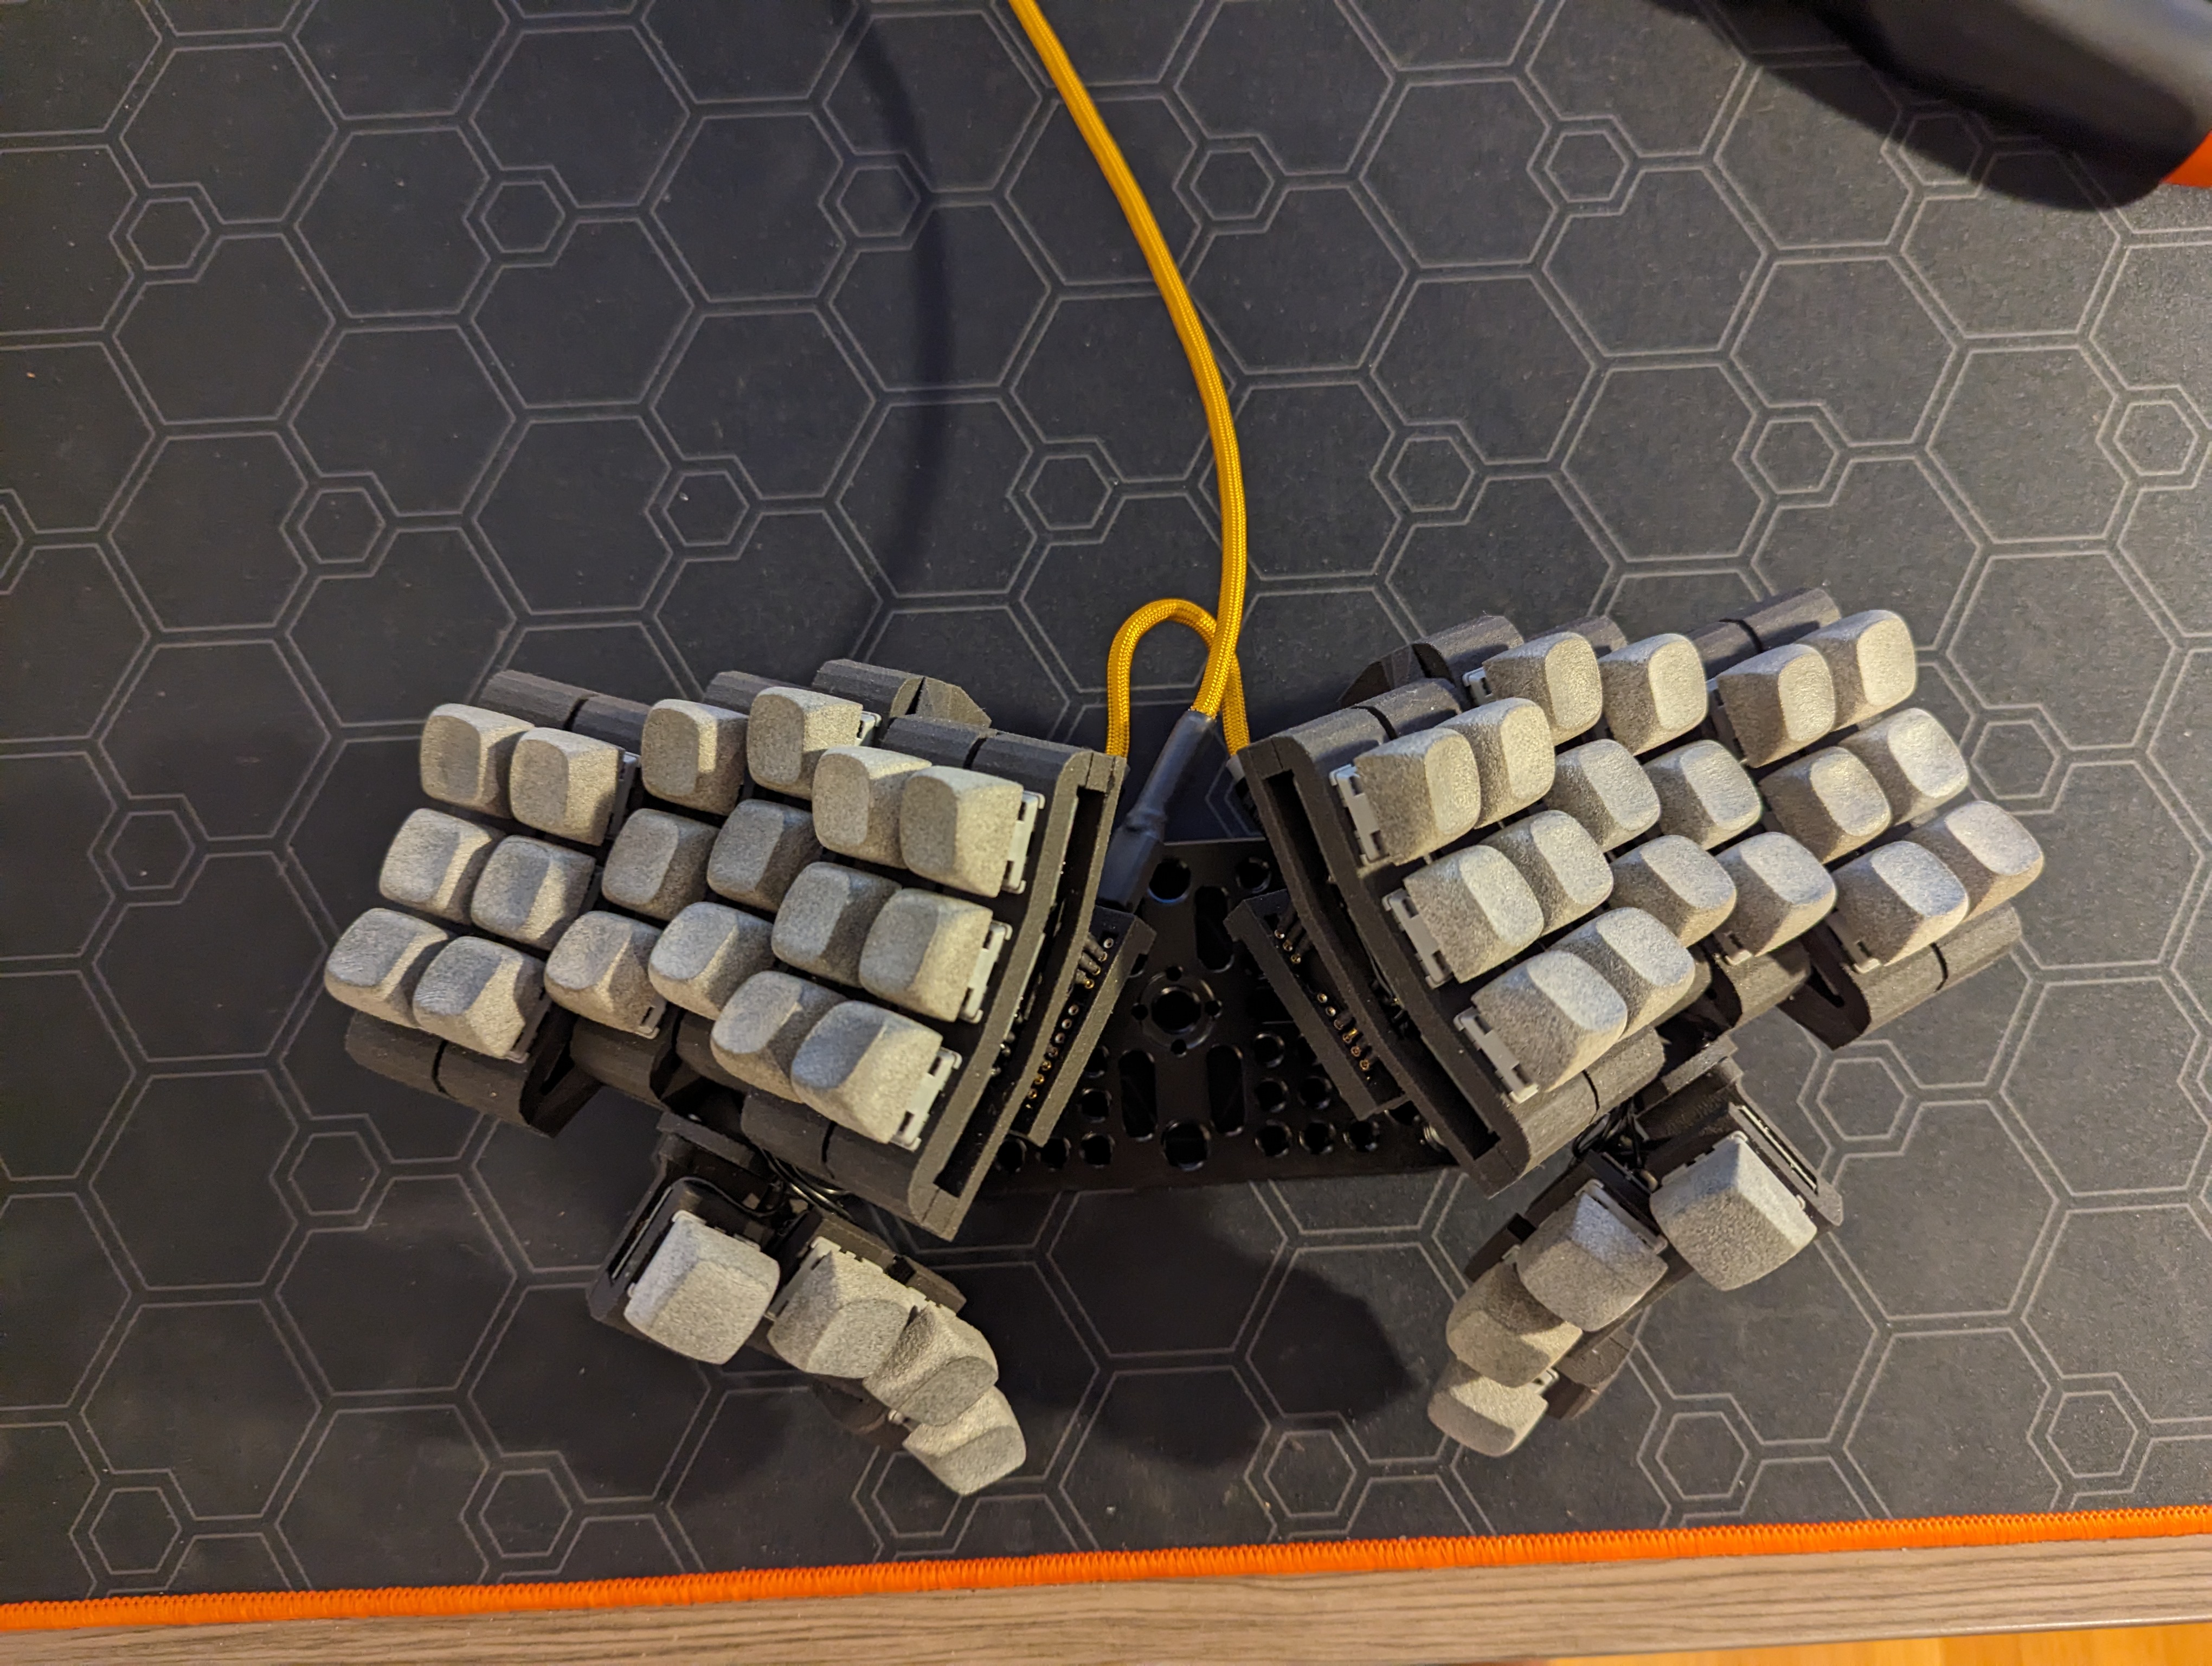
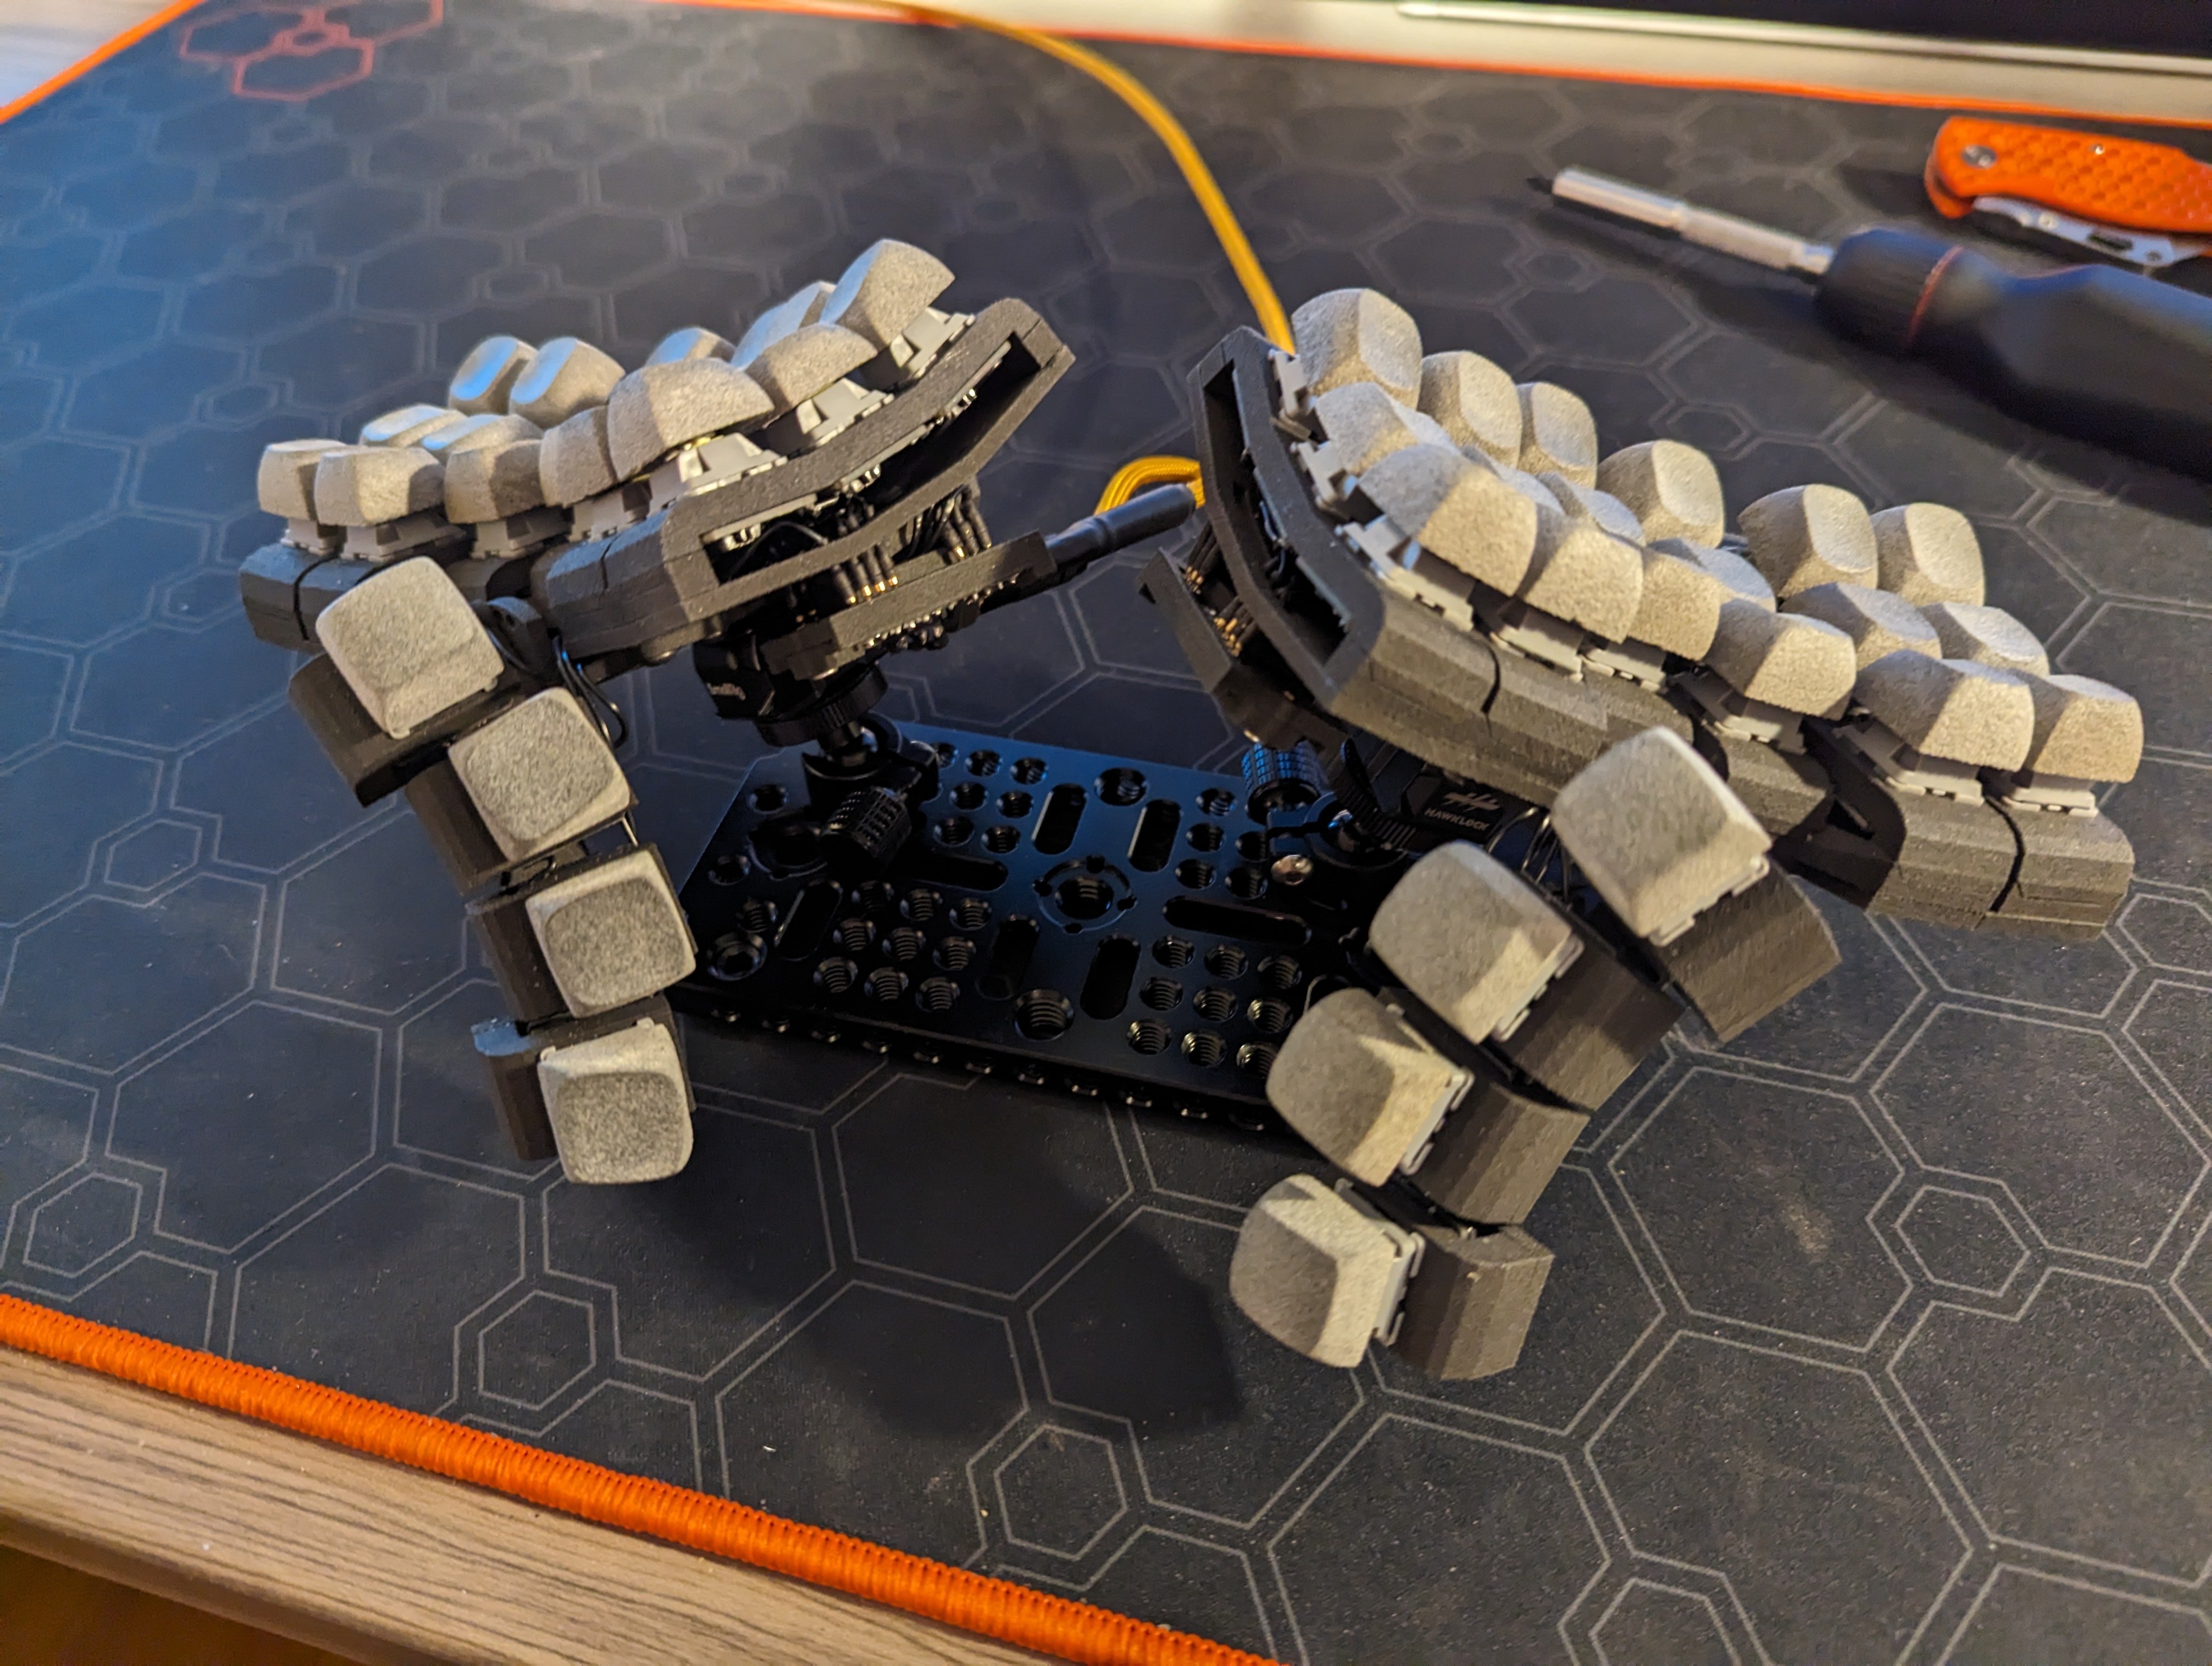
I decided to try out building myself the Explorer RxCT keyboard (posted on that other place shortly before the drama). Since this build is using rp2040 mc I’ve taken to calling it the Explorer Pi.
Of course I don’t have my own 3D printer so I ended up using jlcpcb for the parts using SLS nylon. I’m quite pleased with how they came out.
Quite happy with the keyboard overall. I had being using choc switches for quite awhile so it took a little adjusting but not too bad and very comfortable to type on at this point.
Only thing I will probably change sooner or later is the thumb cluster. The modularity is great for narrowing down preferences but the construction means the keys are further spaced than I would prefer. I’m working on a two piece thumb cluster with tighter spacing at the cost of being a lot less customizable once I’m certain I’ve figured out what I want.
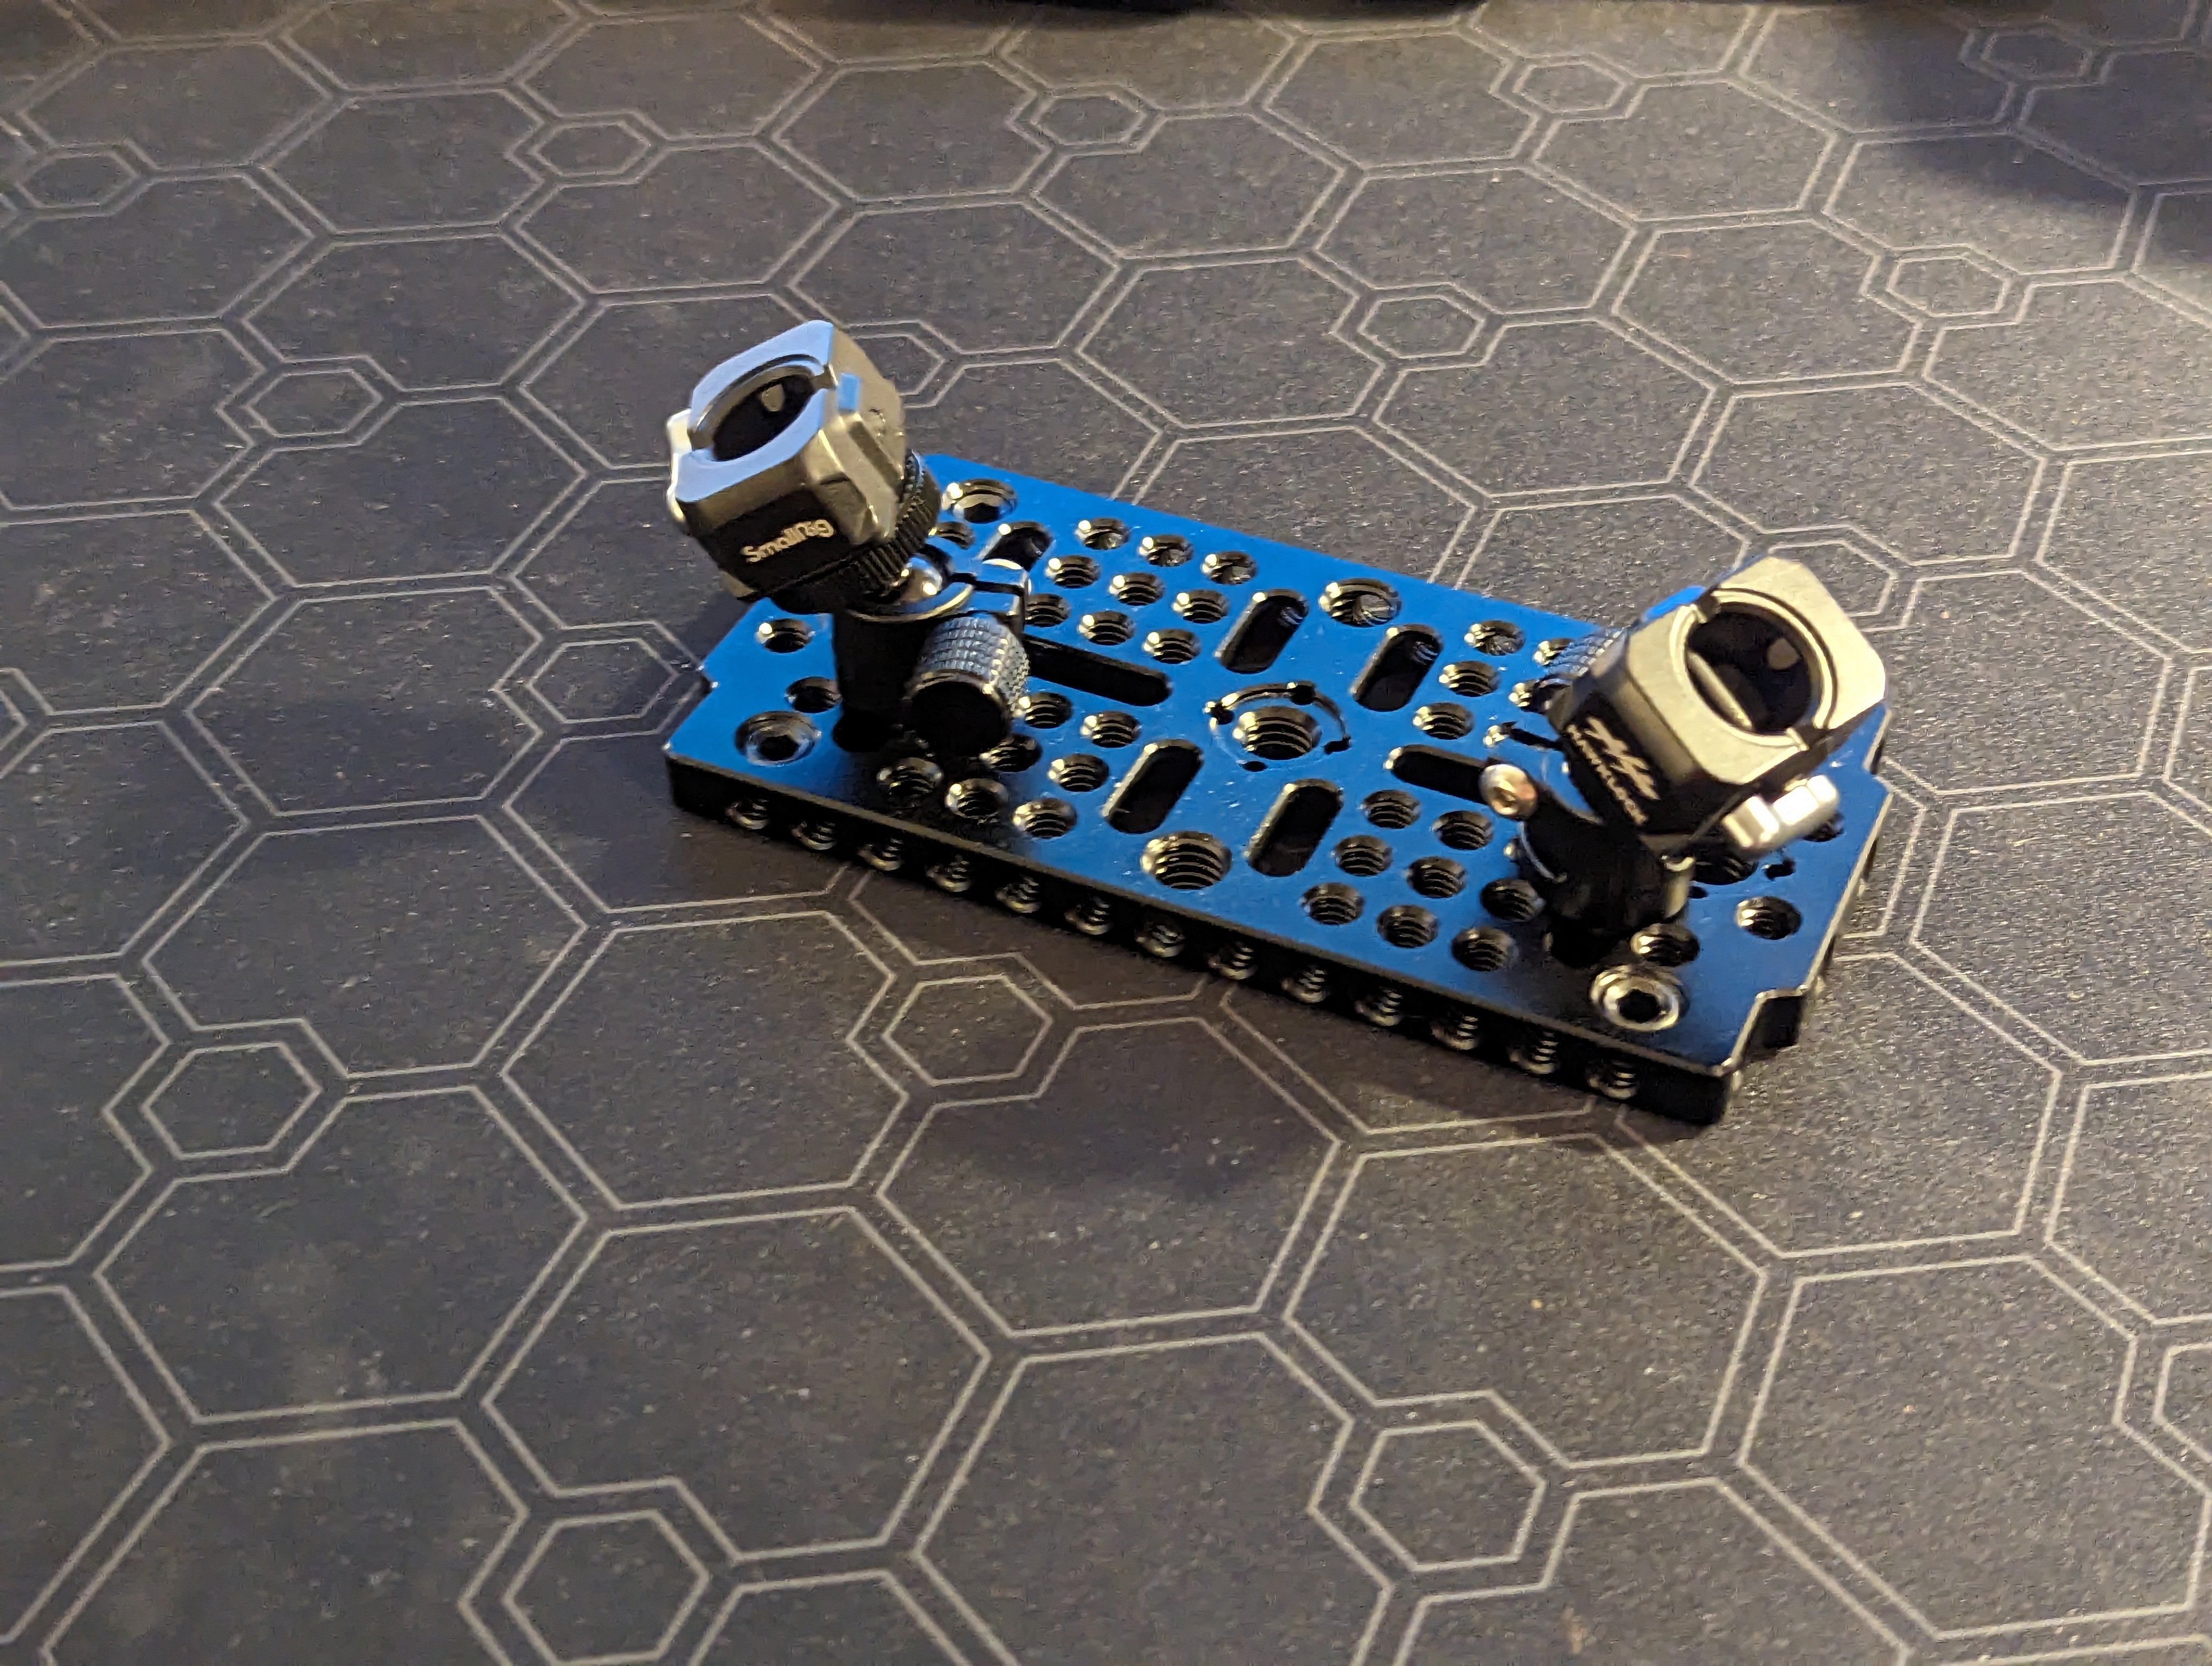
Loving the cheese plate for the base, I think there is something to be said for having a constant relative positioning between left and right hands. Only issue with it originally was that it would slide around a lot on the desk pad. I came up with a great solution:

Four 3/8" set screws secured in place with four more 1/4" set screws and this thing isn’t sliding anywhere anymore. Also possible to use some longer set screws to add some additional Y axis tilting if desired.
Quick disconnect mounts for convince
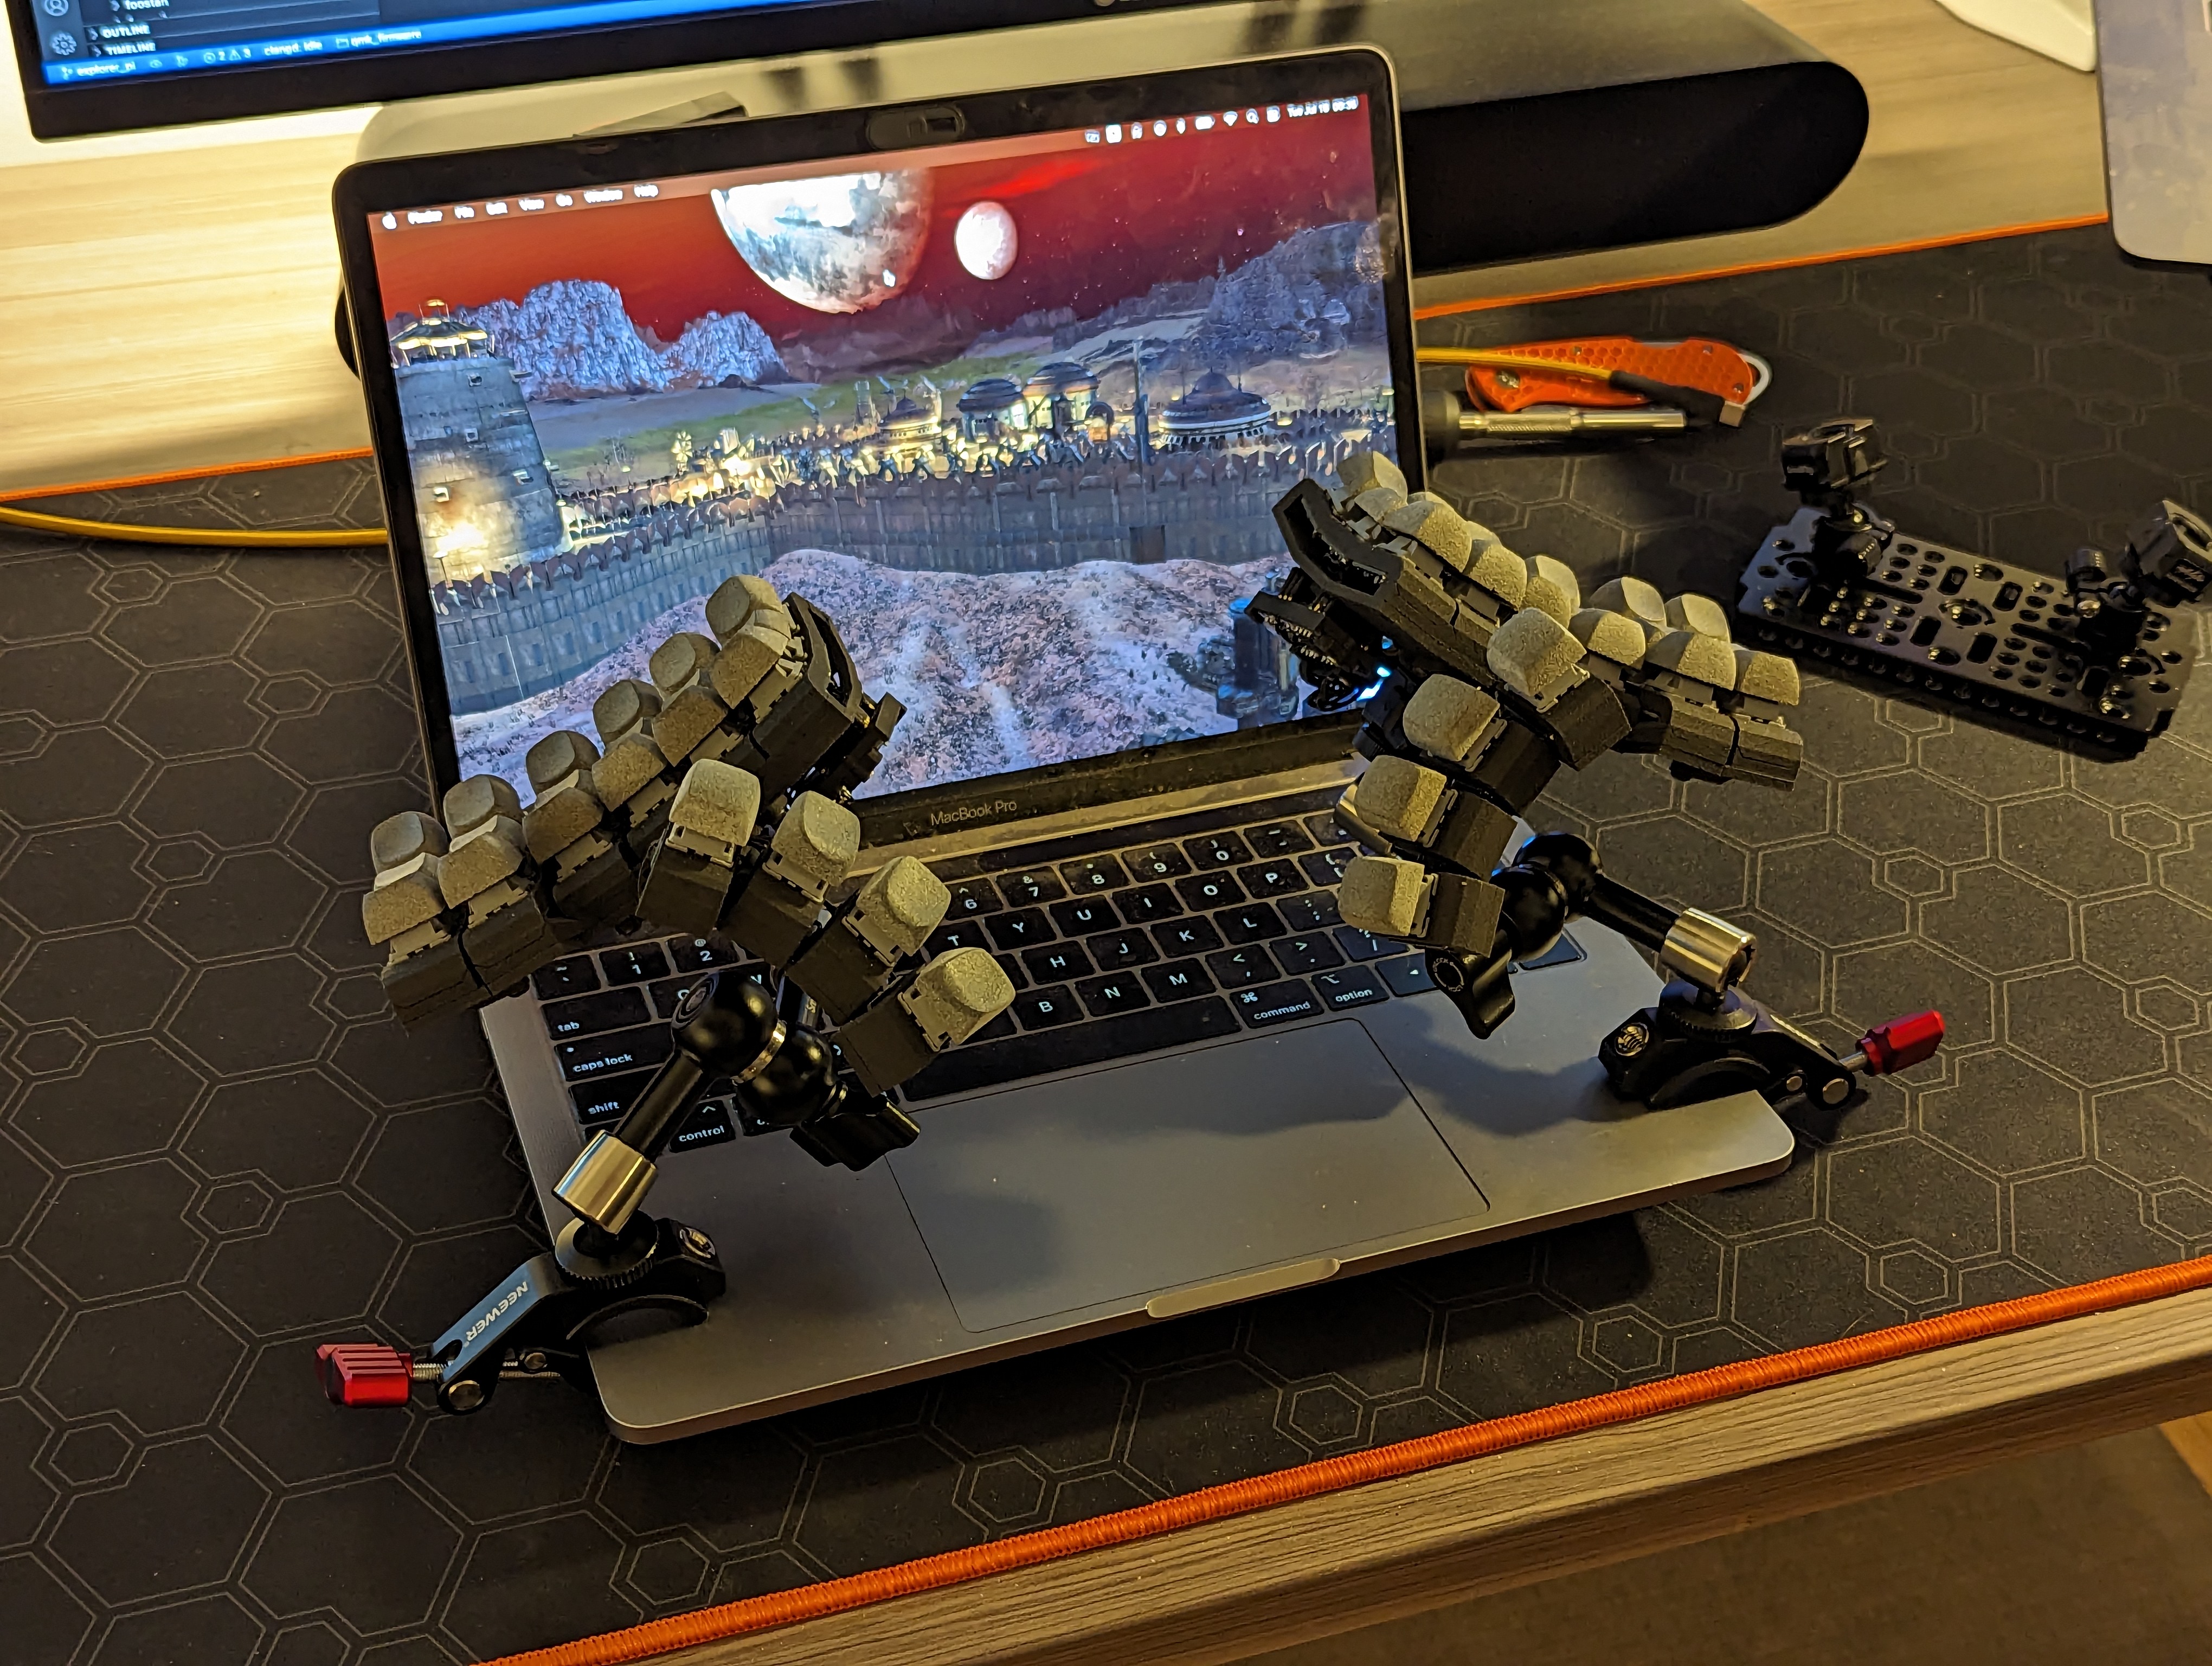
Also worked out a mounting solution for on the go by mounting direct to laptop.
- Switches are Durock Sunflowers, with Spirit Slow II 45g springs
- Keycaps are 3D printed nylon DES from 3dkeycap.com
- Firmware on personal fork
- Personal Keymap
- Pull request for firmware into qmk official
- More photos here
So cool! How do your actually learn to type onthis?
I’m transitioning from a flat split keyboard already so the difference isn’t really that great and it didn’t take long. In general though I’ve found the best way to learn new layouts is to just jump in and start using it. Practice practice practice. Oh and skip the labeled keys, they will only hurt your learning speed.
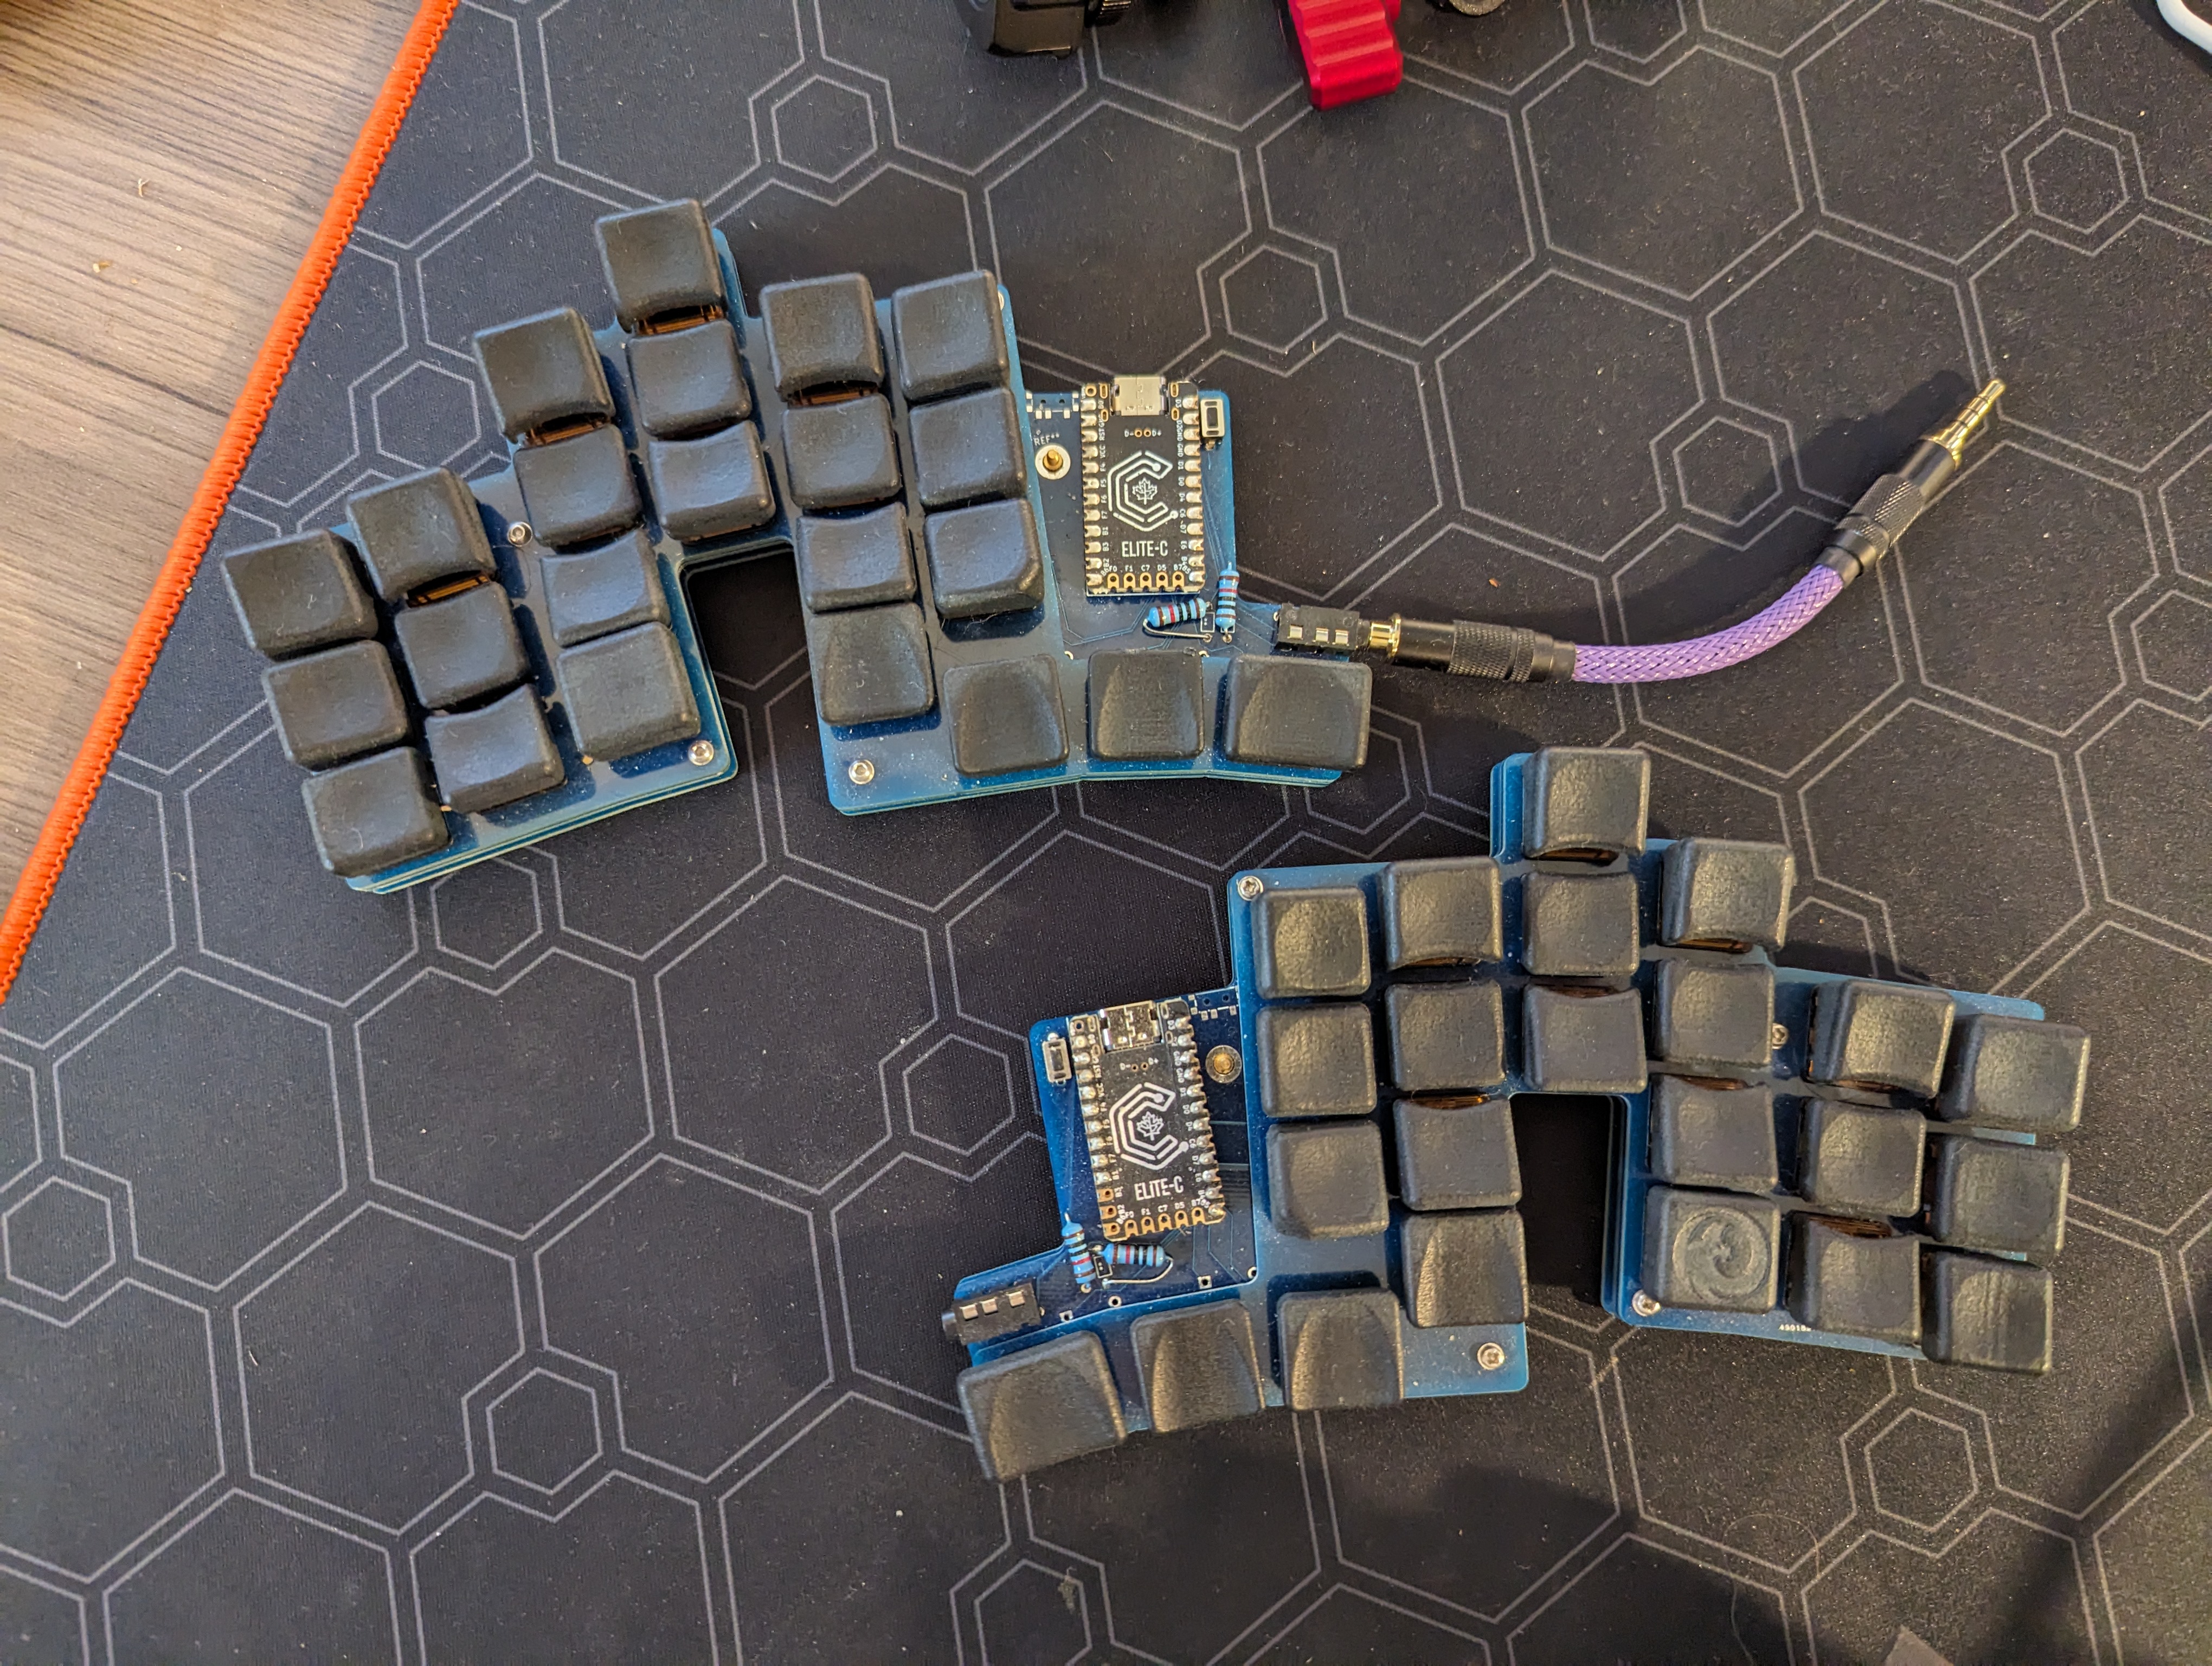
Previous board:

Thanks! That’s super interesting.
This somehow reminds me straight of this T2 movie scene:

I really like the look of this, saved to check out when I’m back home. Thank you!!
What is the price of the jlcpcb 3d printing? It looks great!
All the 3D printed parts were a just under 95usd. This total could have been lower but due to the modular nature of the keyboard there are a number of small parts that are at or below the minimum volume and thus the cost for printing them ended up getting rounded up to $1 min part cost which added up. I’m working on consolidating some of the parts into larger pieces to limit this and reduce the total parts count for my next build. The down side is of course less modularity but I’ve already got a good idea of what I want so that is no big deal.
Woah!
Looks freaky bro, good job!
Badass. Is this your first one? How is getting used to typing on them?
First keywell keyboard. Previously was using a custom flat pcb build:
Not too bad a learning curve transitioning from that. About a day maybe two to get up to previous typing speed but I’m also experimenting with some layout changes now. Thumb cluster was immediately so much more comfortable.
Super cool stuff!
I wonder if my flexible pcbs fit in there! If you’d be interested I’d be willing to send you a set of pcbs to see!
When I build another I’d love to give flexible pcbs a try. What are the matrix dimensions of your PCBs? Thinking I might try a 4x6 layout next build.
For now there is no way I’m reopening this thing again unless I really need too. I have a new respect for all the hand wired builds out there. I wouldn’t say they build was tough exactly but it was tedious.
I can do up to 5 rows; infinite columns but a sheet comes with 6.
Oh yeah, handwiring literally is why I spend literal months of time designing over and over the flexible pcbs. I think technically there’s a good 300+ revisions. (Last I checked the old version backup on my cad program was almost a gig worth of saves).
That’s awesome. I’ll message you when I’m looking to build again. If your design works even as a starting point it would save huge amounts of time.
I can also relatively easily tweak the pcb dimensions if needed to fit. Including switch center to center “flat” distance!
This really looks like it should be fitted on a spherical surface. Maybe a huge soccer trackball. That would be a spherical version of the keymouse
Wow that could actually be really sick. I kinda worry that it would end up being a mediocre mouse and suffer as a keyboard as a result but even still…
LOL usability didn’t occur to me somehow. Was totally immersed in the beauty of it 😍
Which single key PCB are those? I don’t recognize them… And I was looking for exactly that a while ago, hehe.
It’s the idea that the stagger for any column and thumb cluster can be adjusted?
I couldn’t find any that were dual hotswap compatible so I made my own. They are choc + mx hotswap compatible and 18.1x18.1mm. I haven’t added them to any repo yet but happy to share if you want.
I didn’t design it myself but I think everything was originally parametric design so should be easy enough if you had those. You could try reaching out to the designer and see if he would be willing to share. DreaM117er Even without the original cad files it wouldn’t be to hard to modify starting from the STL. The thumb clusters are modular and adjustable so a lot more customizability within the existing design there.
Created a repo for the PCB here: https://github.com/mroukema/enigma-dual-hs
Both the kicad and ready to print gerber files zipped together.
Fantastic, thank you 🙂
